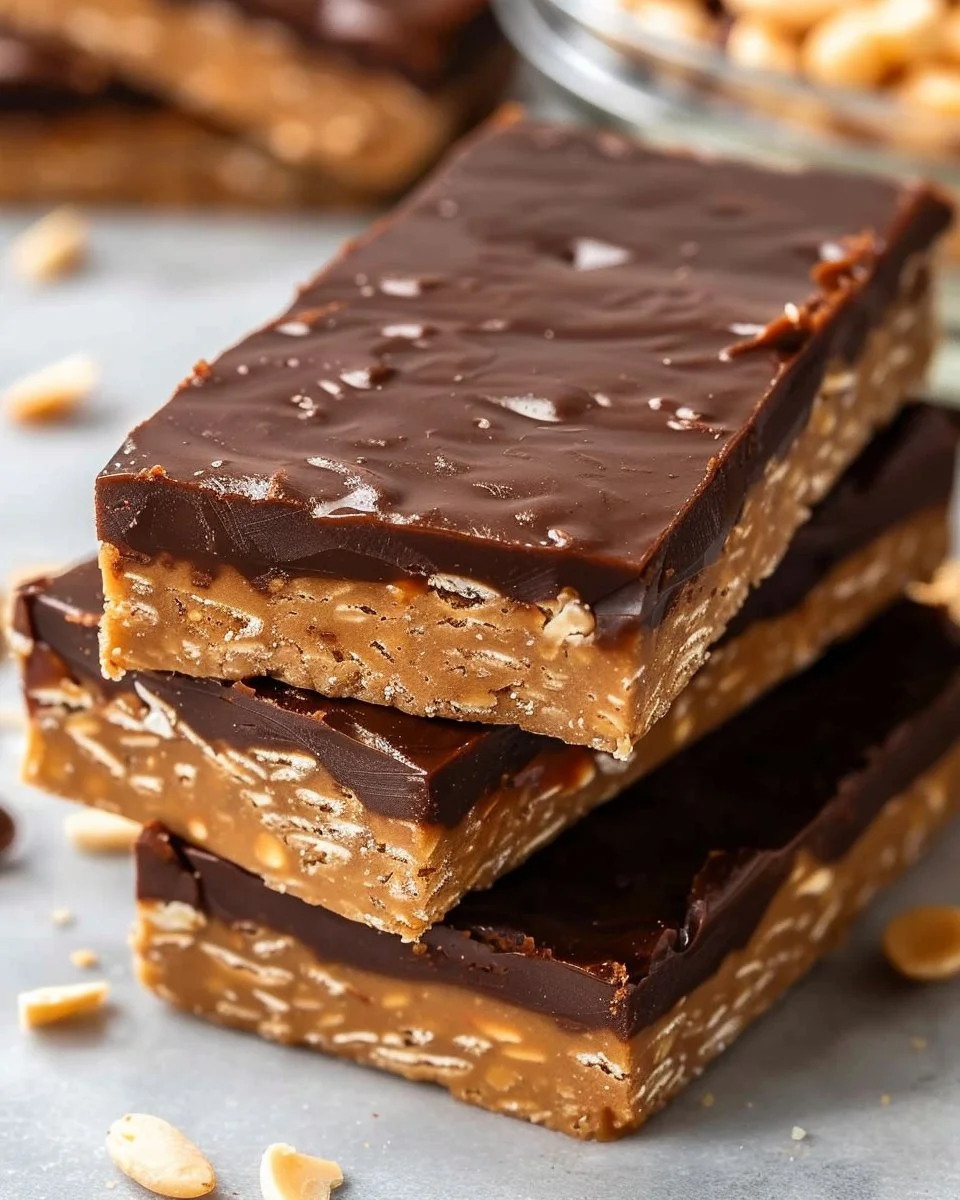
The Best Easy No Bake Protein Bar: Your Go-To Snack for Energy and Health
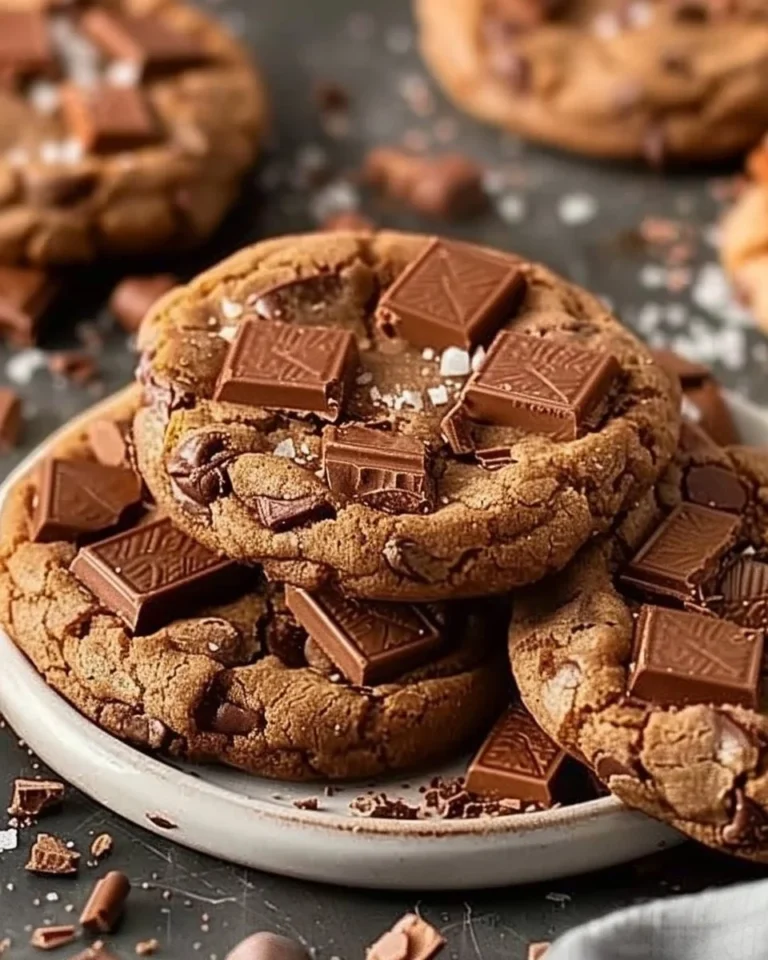
Imagine coming home after a long day, feeling drained and craving something sweet and indulgent. Yet you also want to stay mindful of your health. That’s where The Best Easy No Bake Protein Bar comes into play. These delectable bars not only satisfy your sweet tooth but also boost your energy levels—making them the perfect guilt-free treat. Whether you’re an athlete needing a post-workout fix or just someone looking for a nutritious snack, this recipe will keep you fueled and feeling great!
Why No Bake Protein Bars Are Game-Changers
No bake protein bars dissolve the hassle of time-consuming baking while still delivering all the nutritious benefits you seek. They’re a delicious fusion of macros packed into a handy, on-the-go form. With minimal equipment and hardly any cleanup, you can whip up a batch that leaves you feeling satisfied and well-nourished. There’s also the convenience of customizing them according to your preferences, whether you’re going vegan, gluten-free, or simply trying to use up pantry staples.
Key Benefits of Making Your Own Protein Bars
- Health Benefits: Control what goes into your snacks. Avoid added sugars, preservatives, and artificial flavors found in many store-bought options.
- Customization: Tailor flavors and textures to your liking. Prefer almond butter? Go for it! Want to add some dried fruit? The choice is yours.
- Cost-Effective: Preparing your own bars can save you a significant amount over time, plus it’s often healthier.
- Quick and Easy: With no baking involved, these snacks come together in minutes and store easily for later enjoyment.
Ingredients for Your Protein Bars
To create The Best Easy No Bake Protein Bar, here’s what you’ll need:
- 1 cup rolled oats
- 1/2 cup almond butter
- 1/4 cup maple syrup
- 1/2 cup protein powder (plant-based)
- 1/4 cup chocolate chips
- 1/4 cup chopped nuts (optional)
- 1 tsp vanilla extract
- A pinch of salt
Step-by-Step Guide to Crafting Your Bars
Creating your own no bake protein bars is as simple as following these steps:
- Combine Dry Ingredients: In a large mixing bowl, combine rolled oats, protein powder, and a pinch of salt. Mix well.
- Mix Wet Ingredients: In a separate bowl, blend almond butter, maple syrup, and vanilla extract until smooth.
- Combine: Pour the wet mixture into the dry ingredients. Stir until everything is evenly coated. Add chocolate chips and nuts, folding gently into the mixture.
- Shape and Set: Transfer the mixture to a lined baking dish. Press it firmly to ensure it holds together. Use a spatula to smooth the top.
- Chill: Cover the dish and place it in the refrigerator for at least 30 minutes to firm up.
- Cut and Store: Once set, cut into bars or squares. Store them in an airtight container for up to two weeks.
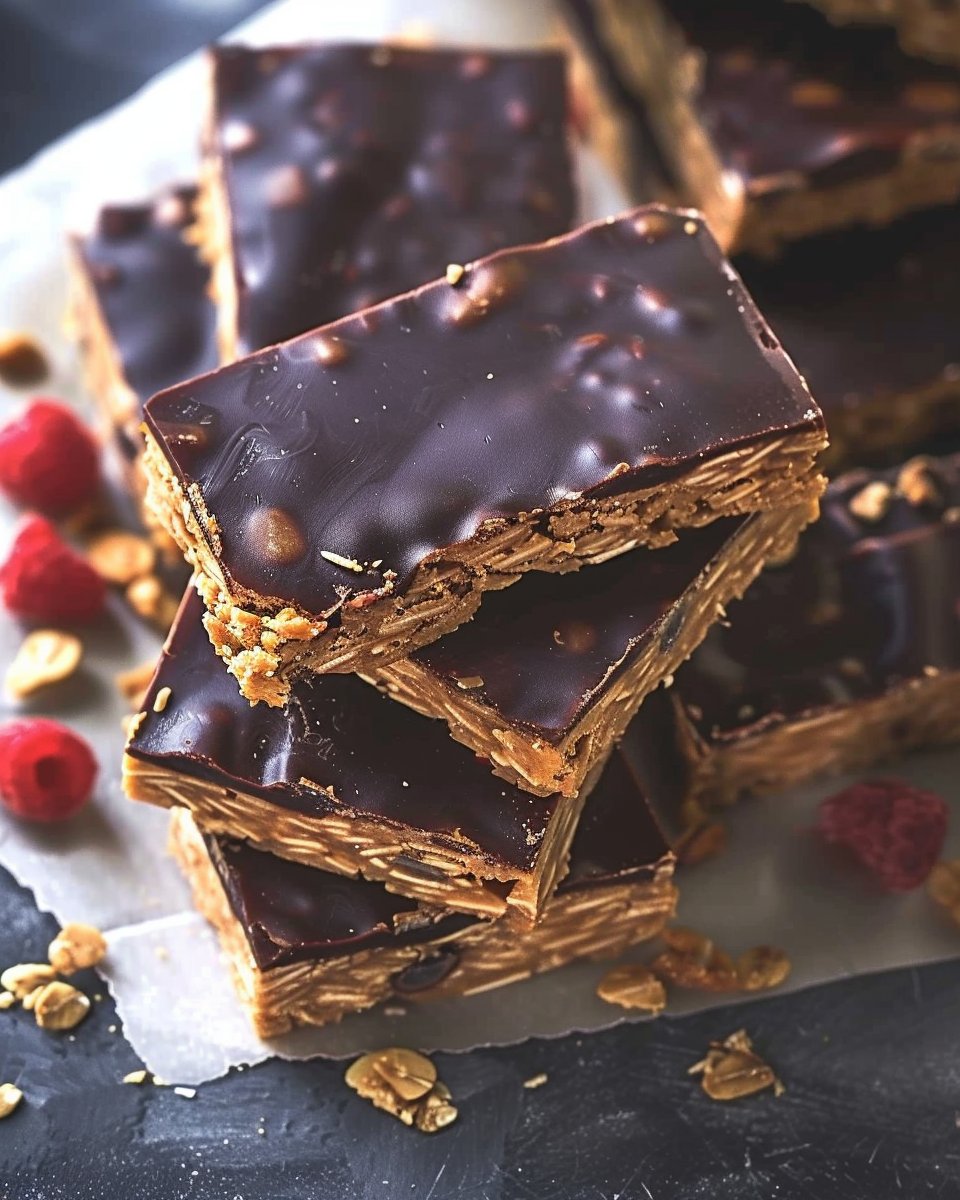
Expert Tips to Perfect Your Protein Bars
- Experiment with Flavors: Try adding peanut butter instead of almond butter, or mix in some cinnamon for a warm, spicy twist.
- Boost Nutritional Value: Incorporate chia seeds or flax seeds for added omega-3 fat and fiber.
- Make it a Meal: You can add ingredients like banana or Greek yogurt for a more filling option.
Common Mistakes to Avoid
While making no bake protein bars is straightforward, here are a few common pitfalls to watch out for:
- Too Much Liquid: If your mixture is too wet, your bars might not hold together. Adjust by adding a bit more oats or protein powder.
- Not Packing It In: Don’t skimp on the packing process. Firmly pressing the mixture down is crucial for bars that won’t crumble.
- Forgetting to Chill: Giving your bars time to chill is essential. Skipping this step can result in overly soft bars that fall apart.
Creative Serving Ideas
- Pre/Post-Workout Snack: Have one before hitting the gym or as a recovery snack afterward.
- Lunchbox Treat: These bars make a fantastic addition to kids’ lunchboxes, packed full of nutrition and flavor.
- A Healthy Dessert: Drizzle with a bit more chocolate or serve with a dollop of yogurt for a delightful after-dinner treat.
Storing Your Protein Bars
To keep your no bake protein bars fresh:
- Store them in an airtight container in your pantry or fridge.
- You can also wrap them individually and freeze them for longer storage. Just thaw before eating!
Nutritional Insights
Navigating nutrition doesn’t have to be tricky. Each bar is rich in protein, fiber, and healthy fats, making them versatile for various diets. Given the ingredients, you can enjoy them guilt-free, knowing you’re feeding your body with wholesome, nourishing foods.
Frequently Asked Questions
What is the best way to store no bake protein bars?
Store them in an airtight container in the fridge or pantry. For long-term storage, freeze them individually.
Can I customize the ingredients in these no bake protein bars?
Absolutely! You can substitute different nut butters, sweeteners, or add-ins like dried fruits or seeds.
What makes these the best easy no bake protein bars?
These bars are quick to make, require no baking, and are fully customizable, allowing you to create a healthy snack that suits your taste and dietary needs.
How long do homemade protein bars last?
Homemade protein bars can last up to two weeks in the fridge and even longer if frozen.
Can I use a different type of protein powder?
Yes! You can choose whey, casein, or any other type of protein powder that suits your preference.
Wrap-Up
Crafting The Best Easy No Bake Protein Bar at home opens a world of nutritious snacking that’s convenient and delicious. By making these bars yourself, you control both flavor and ingredients while saving time and money. So go ahead, whip up a batch, and relish in the knowledge that a healthy, energizing snack is just a reach away. Enjoy!
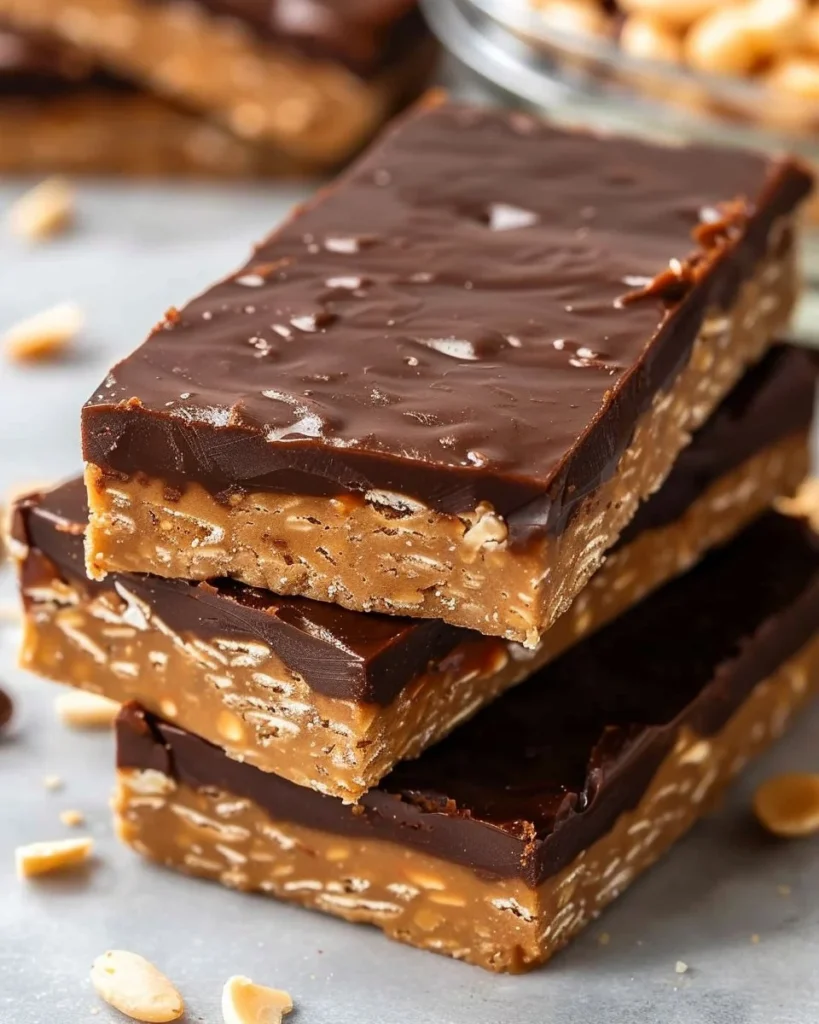
Easy No Bake Protein Bar
Ingredients
Method
- In a large mixing bowl, combine rolled oats, protein powder, and a pinch of salt. Mix well.
- In a separate bowl, blend almond butter, maple syrup, and vanilla extract until smooth.
- Pour the wet mixture into the dry ingredients. Stir until everything is evenly coated. Add chocolate chips and nuts, folding gently into the mixture.
- Transfer the mixture to a lined baking dish. Press it firmly to ensure it holds together. Use a spatula to smooth the top.
- Cover the dish and place it in the refrigerator for at least 30 minutes to firm up.
- Once set, cut into bars or squares. Store them in an airtight container for up to two weeks.