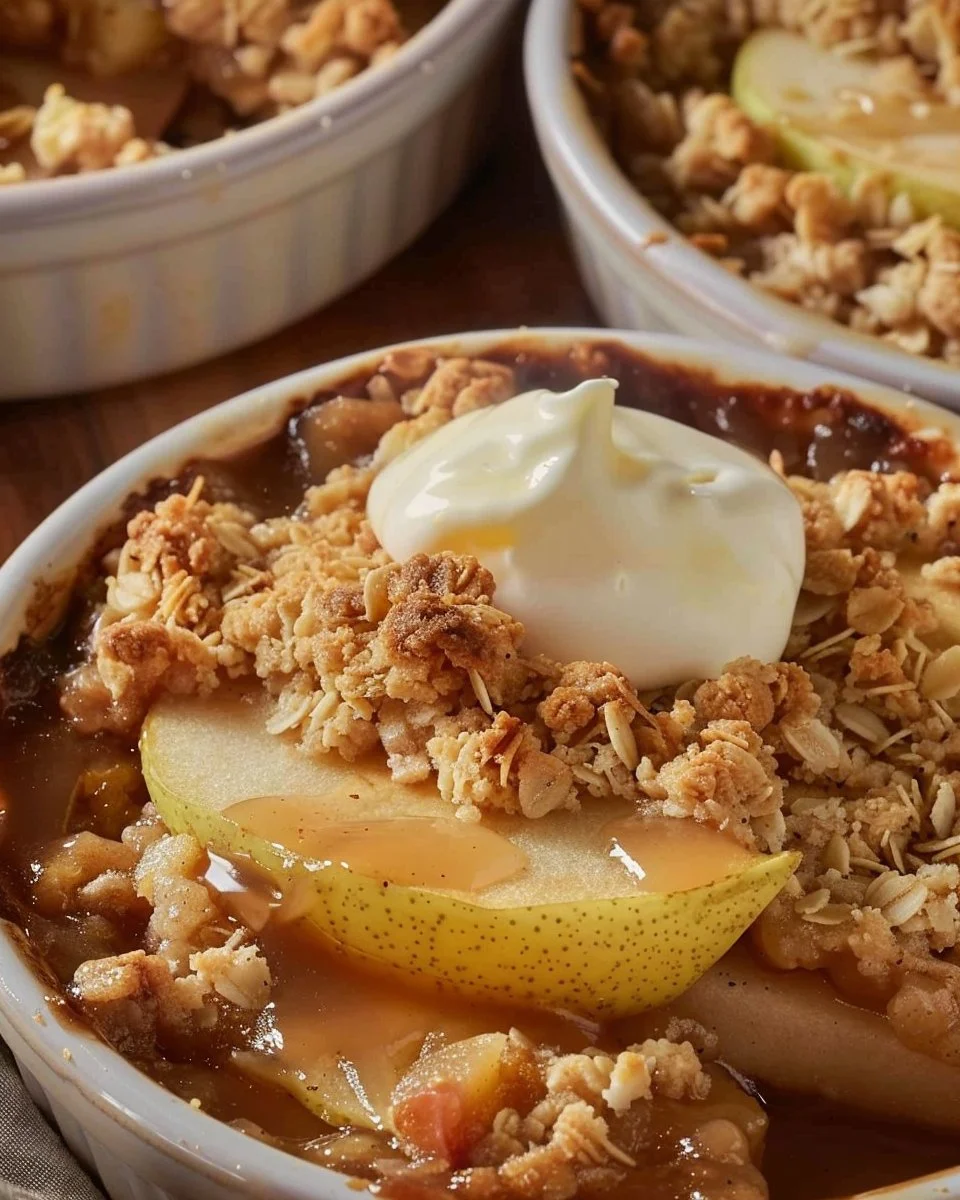
The Sweet Harmony of Apple Pear Crisp: A Cozy Dessert for Every Occasion
When the crisp fall air begins to settle in and the leaves turn shades of amber and gold, there’s nothing quite like the warmth of a homemade dessert to bring the season into your home. Imagine walking into your kitchen, the aroma of baked apples and pears filling the air, inviting you to savor the comfort of a delightful Apple Pear Crisp. Not only does this dish strike a perfect balance between flavor and texture, but it also speaks to our nostalgia for family gatherings and hearthside chats. If you’re seeking a simple yet delectable way to celebrate the changing seasons, this recipe is the perfect solution.
Why Apple Pear Crisp Should Be Your Go-To Dessert
Apple Pear Crisp is more than just a dessert; it’s a heartwarming experience that brings people together. Whether you’re hosting family for Thanksgiving or simply looking to indulge your sweet tooth, this dish is versatile enough for any occasion.
- Nostalgic Flavor: The combination of sweet apples and ripe pears transports you back to simpler times, evoking memories of sharing desserts with loved ones.
- Easy to Prepare: With just a handful of ingredients, you can whip up a delicious dessert without spending hours in the kitchen.
- Healthier Alternative: While still sweet, the natural sugars in fruit paired with oats make for a treat that feels a little less indulgent.
The Components of a Perfect Apple Pear Crisp
Before diving into the step-by-step guide, let’s gather our ingredients. The combination of fruits, spices, and a buttery crumble brings this dish together beautifully.

Ingredients You’ll Need
- 3 cups sliced apples
- 3 cups sliced pears
- 1 cup brown sugar
- 1 cup rolled oats
- 1/2 cup all-purpose flour
- 1/2 cup unsalted butter, melted
- 1 teaspoon ground cinnamon
- 1/4 teaspoon salt
- Vanilla ice cream for serving
Step-by-Step Guide to Crafting Your Apple Pear Crisp
Creating your Apple Pear Crisp is straightforward and enjoyable. Follow these simple steps for a dessert that will impress everyone at the table.
- Prepare the Oven: Preheat your oven to 350°F (175°C). This ensures your crisp bakes evenly and develops that golden-brown crust.
- Mix the Fruits: In a large mixing bowl, combine the sliced apples and pears. If you like, sprinkle a little cinnamon over them for extra flavor.
- Prepare the Topping: In another bowl, mix the brown sugar, rolled oats, flour, melted butter, cinnamon, and salt until the mixture is crumbly.
- Assemble the Dish: Spread the apples and pears evenly in a baking dish, then generously sprinkle the topping over the fruit.
- Bake: Place the dish in the oven and bake for about 35-40 minutes, or until the topping is golden and the fruit is bubbly.
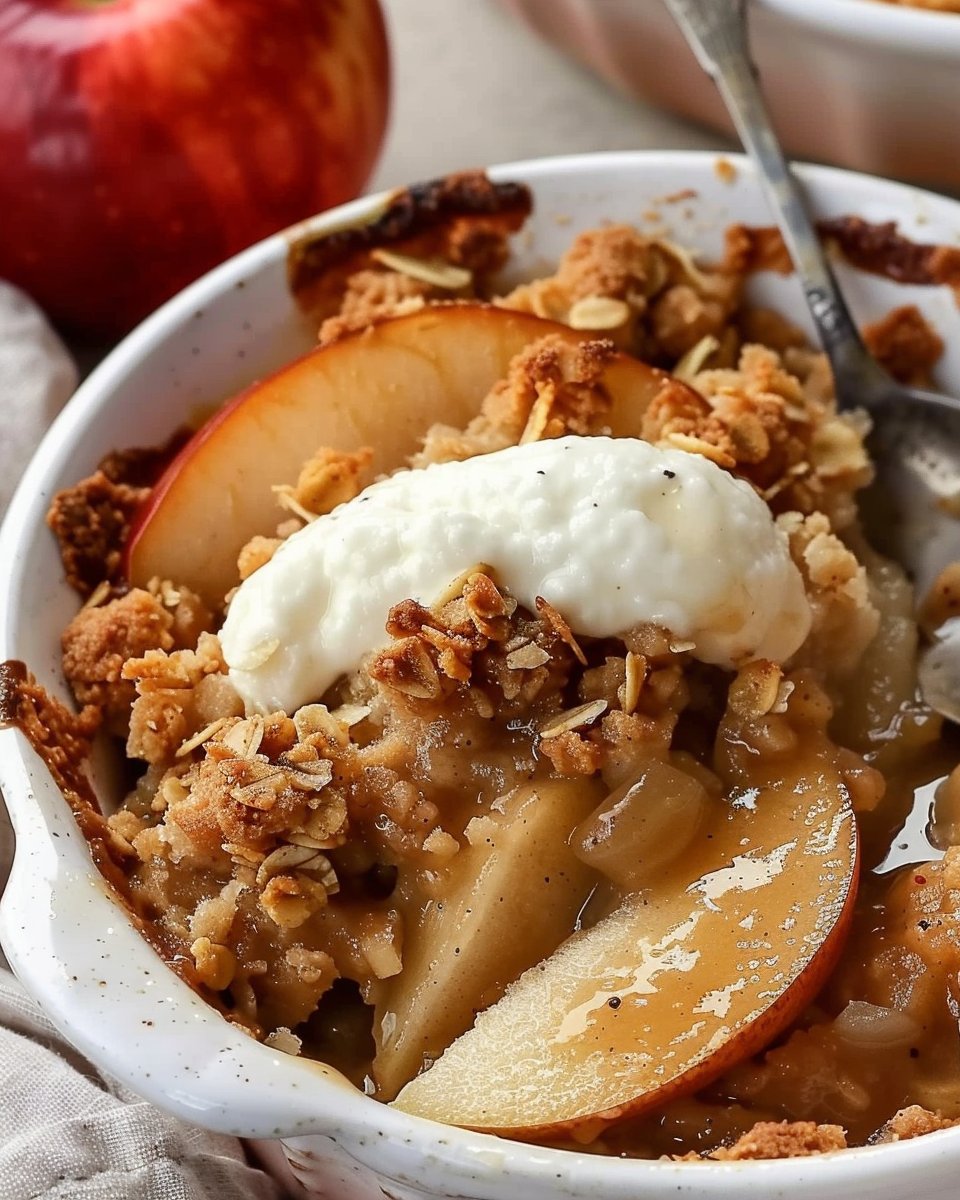
- Serve: Allow the crisp to cool slightly before serving. Scoop generous portions into bowls and top with a scoop of vanilla ice cream.
Key Tips for Making the Best Apple Pear Crisp
While the basic recipe is simple, a few expert tips can elevate your Apple Pear Crisp even further:
- Choose the Right Apples: Granny Smith apples provide a nice tart contrast, while Fuji or Honeycrisp add sweetness.
- Use Ripe Pears: Choose pears that are firm yet ripe. Overripe pears can turn mushy, which affects the texture of your crisp.
- Experiment with Spices: Feel free to add nutmeg or cardamom for a unique twist on flavor.
- Add Nuts: Consider mixing in chopped walnuts or pecans for an added crunch in the topping.
Common Mistakes to Avoid
Even with a simple recipe, a few pitfalls can affect the outcome of your Apple Pear Crisp:
- Overmixing the Topping: Aim for a crumbly texture. If you overmix, it will become too dense.
- Skipping the Cooling Time: Allowing the crisp to cool for a few minutes will help it set up, making it easier to serve.
- Using Too Much Sugar: While sweetness is key, overdoing it can overwhelm the natural flavors of the fruit.
Creative Serving Ideas
Apple Pear Crisp is delicious on its own, but you can add a special touch with a few creative serving ideas:
- Drizzle with Caramel Sauce: Add a touch of decadence with a drizzle of homemade or store-bought caramel.
- Serve with Fresh Whipped Cream: Elevate your dessert with light and fluffy whipped cream for a luxurious feel.
- Garnish with Nuts: A sprinkle of toasted nuts can add a lovely crunch and visual appeal.
Storing and Reheating Your Crisp
If you happen to have leftovers (which is rare!), storing your Apple Pear Crisp properly will keep it tasty for days:
- Refrigeration: Cover tightly and store in the refrigerator for up to three days. Reheat in the oven to retain its crispy topping.
- Freezing: You can also freeze the unbaked crisp for later use. Just follow the instructions, then cover it with foil and freeze. When you’re ready, bake without thawing, increasing the time as necessary.
Health Considerations
While Apple Pear Crisp is a delightful treat, it’s good to be conscious of its nutritional aspects:
- The fruit provides essential vitamins and minerals, making it a healthier dessert option compared to many others.
- Remember to enjoy in moderation as the sweetness can add up, especially if you’re indulging with ice cream or whipped cream.
FAQs About Apple Pear Crisp
Q1: Can I use different fruits in the Apple Pear Crisp?
Absolutely! Feel free to substitute with berries or stone fruits for a seasonal twist.
Q2: What can I use instead of brown sugar?
You can replace brown sugar with regular granulated sugar, though it may produce a slightly different flavor.
Q3: How long does Apple Pear Crisp last?
When stored properly in the fridge, it can last up to three days.
Q4: Can I make Apple Pear Crisp gluten-free?
Yes! Use gluten-free oats and a gluten-free flour blend for a delicious alternative.
Q5: Is Apple Pear Crisp suitable for vegans?
You can substitute the butter with coconut oil or vegan butter to make it vegan-friendly.
Q6: What is the best way to serve Apple Pear Crisp?
It’s best served warm with a scoop of vanilla ice cream on top.
Wrapping It Up
Embracing the tradition of baking an Apple Pear Crisp not only satisfies your sweet tooth but also orchards fond memories tied to the changing seasons. From the ease of preparation to the heartfelt moments shared around the table, this dessert holds a special place in the heart of many families. As you savor each bite, you may find that this simple dish becomes a cherished staple in your own home. So why not gather your ingredients and create your own version of this timeless treat? The warmth of your kitchen and the joy of sharing is just a bake away.
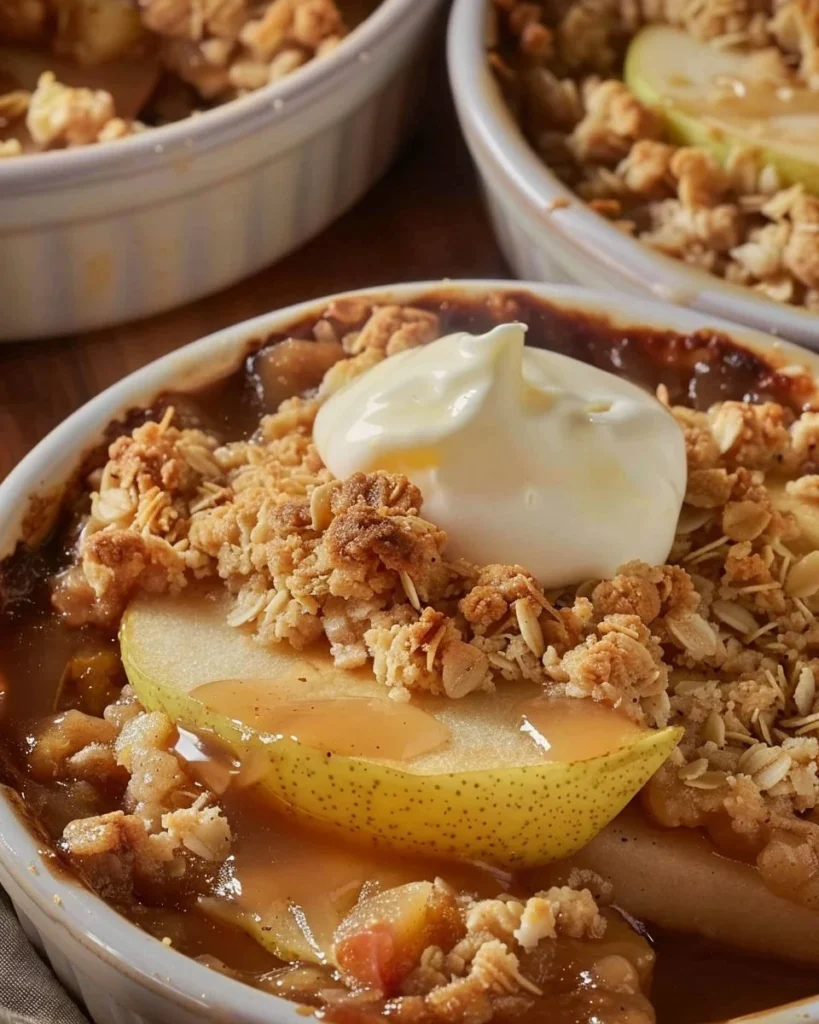
Apple Pear Crisp
Ingredients
Method
- Preheat your oven to 350°F (175°C).
- In a large mixing bowl, combine the sliced apples and pears.
- In another bowl, mix the brown sugar, rolled oats, flour, melted butter, cinnamon, and salt until crumbly.
- Spread the apples and pears evenly in a baking dish.
- Generously sprinkle the topping mixture over the fruit.
- Place the dish in the oven and bake for 35-40 minutes, or until the topping is golden and the fruit is bubbly.
- Allow the crisp to cool slightly before serving.
- Scoop generous portions into bowls and top with a scoop of vanilla ice cream.