Unleashing the Sweetness: Your Guide to Chocolate Lava Cake
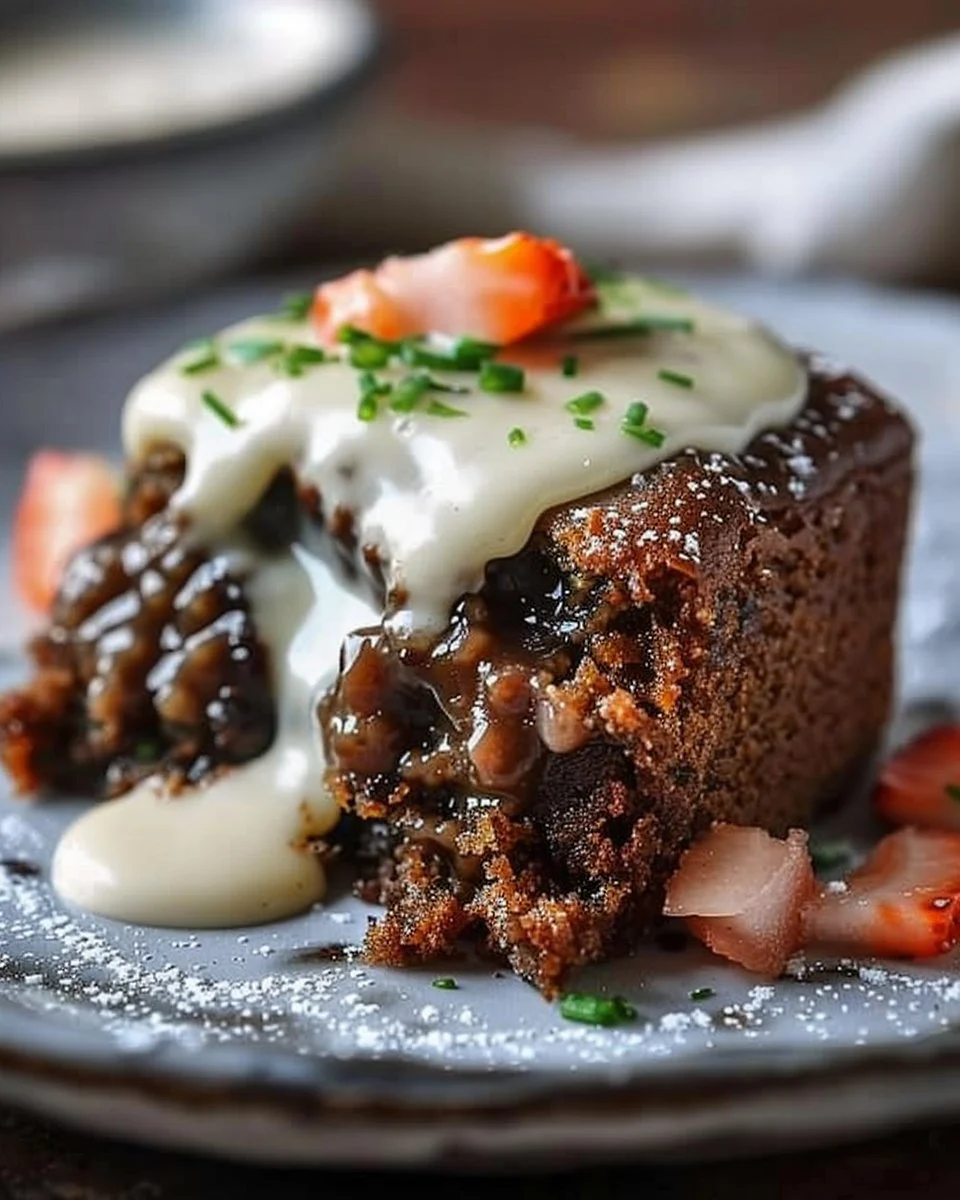
Imagine slicing into a decadent chocolate dessert, only to discover a gooey, molten center that flows like a river of rich chocolate. Welcome to the indulgent world of Chocolate Lava Cake. It’s not just a dessert; it’s an experience. Whether you’re celebrating a special occasion, impressing a date, or simply satisfying your sweet tooth, this cake is sure to deliver on all fronts.
But why does this particular cake captivate our hearts and taste buds? You might think this luxurious dessert is reserved for high-end restaurants or fancy gatherings. However, with the right recipe and a little bit of know-how, you can recreate this restaurant-worthy treat right in your home kitchen. Let’s dive into the magic behind Chocolate Lava Cake, explore its surprising simplicity, and arm you with everything you need to whip up this chocolate masterpiece.
The Allure of Chocolate Lava Cake
Why do we crave this gloriously rich dessert? Simply put, it combines the best elements of chocolate cake with an unexpected twist. The outer layer provides a slightly crisp texture, while the inner core offers a molten chocolate surprise. It’s a celebration of flavors and textures that makes it irresistible.
The appeal doesn’t stop at taste alone. A well-made lava cake has the power to evoke memories of cozy evenings, romantic dinners, and festive celebrations. Each bite is a reminder to indulge and enjoy the moment. So, if you’re ready to embark on a culinary adventure, let’s get to the heart of creating your own Chocolate Lava Cake.
Required Ingredients for Your Chocolate Lava Cake
Before we get started, make sure you have the key ingredients ready. You’ll want to gather the following:
- 1/2 cup unsalted butter
- 1 cup semisweet chocolate chips
- 2 large eggs
- 2 large egg yolks
- 1/4 cup granulated sugar
- 2 tablespoons all-purpose flour
- 1/4 teaspoon salt
- Powdered sugar (for dusting)
- Vanilla ice cream (optional, for serving)
With these essentials in hand, you’re equipped to create your molten chocolate masterpiece.
Crafting Your Chocolate Lava Cake: Step-by-Step
Are you ready to bring your Chocolate Lava Cake to life? Let’s break it down step by step.
- Preheat Your Oven: Begin by preheating your oven to 425°F (220°C). Greasing your ramekins at this stage helps prevent sticking.
- Melt the Chocolate and Butter: In a microwave-safe bowl, combine the unsalted butter and semisweet chocolate chips. Heat in 30-second intervals, stirring in between until the mixture is smooth and melted.
- Whisk It Good: In a separate bowl, whisk together the eggs, egg yolks, and granulated sugar. Incorporate the melted chocolate mixture until well combined.
- Add Dry Ingredients: Gently fold in the flour and salt. Be careful not to overmix; you want your lava cake to be airy.
- Fill Your Ramekins: Pour the batter into the greased ramekins, filling them about three-quarters full.
- Bake to Perfection: Place the ramekins on a baking tray and bake for about 12-14 minutes. The edges should be firm, while the centers will stay soft.
- Let Them Rest: Once baked, let the cakes sit for one minute before carefully inverting them onto dessert plates.
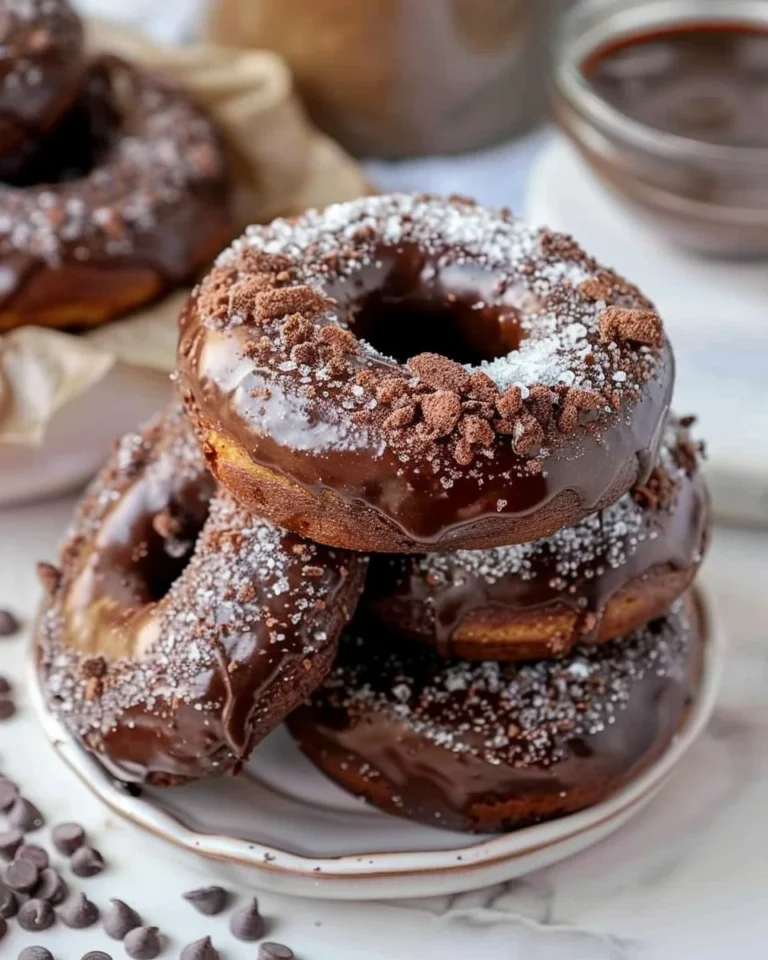
- Serve and Enjoy: Dust with powdered sugar and serve with a scoop of vanilla ice cream for an extra touch of indulgence.
Tips for Perfectly Rich Chocolate Lava Cakes
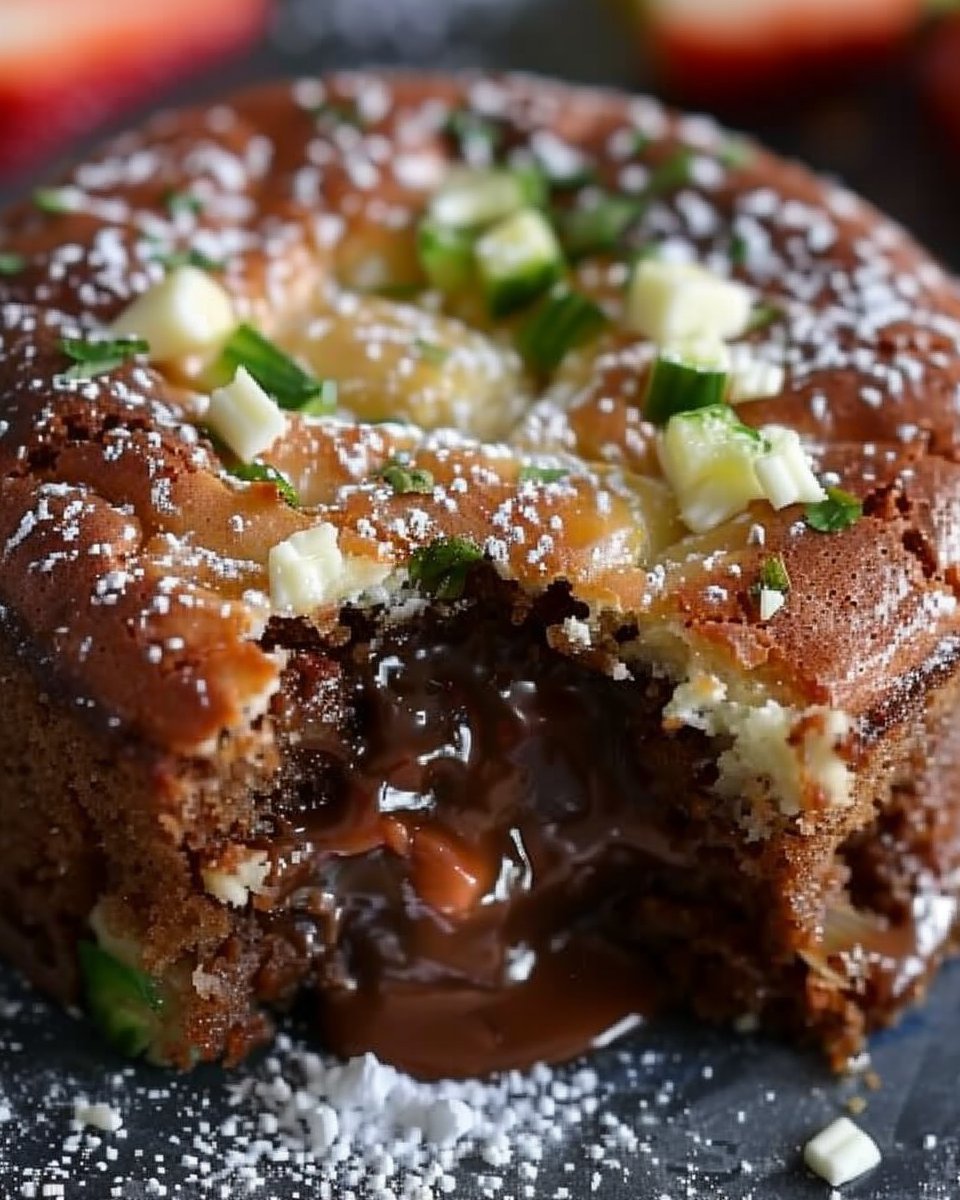
Creating a flawless Chocolate Lava Cake involves a bit of finesse. Here are some expert tips to enhance your baking game:
- Use Quality Chocolate: The better the chocolate, the richer the flavor. Choose high-quality semisweet chocolate chips or bars for the best results.
- Timing is Key: The baking time may vary depending on your oven and the ramekins you use, so keep a close eye on them. For perfect lava cakes, you want a firm exterior and a gooey center.
- Experiment with Flavors: Don’t hesitate to add a splash of vanilla extract or a pinch of espresso powder to enhance the chocolate flavor.
Alternate Takes: Variations of the Classic Recipe
The beauty of Chocolate Lava Cake lies in its versatility. If you’re feeling adventurous, try these variations:
- Nutty Twist: Add chopped nuts, such as hazelnuts or pistachios, into the batter or sprinkle them on top after baking for a delightful crunch.
- Fruit Finesse: Incorporate berries, like raspberries or cherries, into the batter to add a tart contrast to the sweet chocolate.
- Spiced Sensation: A hint of cinnamon or chili powder can elevate the flavors and add a unique edge to your lava cake.
Avoiding Common Chocolate Lava Cake Pitfalls
While a Chocolate Lava Cake may seem straightforward, there are a few issues that can arise. Here are common pitfalls to watch for:
- Overbaking: Resist the urge to bake longer in hopes of achieving a firmer texture; overbaking can lead to a chocolate cake rather than the decadent lava you desire.
- Not Greasing the Ramekins: Make sure to grease the ramekins adequately to avoid the cake sticking and ruining your perfectly baked lava cake.
- Underestimating Resting Time: Let the cakes rest for a minute after baking. This short wait helps the molten center maintain its liquid gold consistency.
Storage Solutions for Your Lava Creations
Chocolate Lava Cakes are best enjoyed fresh; however, if you find yourself with leftovers, here’s how to store them:
- Refrigerate: Wrap each cooled ramekin tightly in plastic wrap and store in the refrigerator for up to three days.
- Reheating: When you’re ready to indulge again, reheat the cakes in a microwave for about 20-30 seconds, or in a preheated oven at 350°F (175°C) for 5-10 minutes.
Digesting the Richness: Health and Nutrition Notes
While Chocolate Lava Cake is undeniably a treat, it’s important to enjoy it mindfully. Here are a few points to consider regarding nutrition:
- Caloric Content: A single serving can contain a substantial amount of calories, so portion control is key.
- Ingredients Matter: Opting for high-quality chocolate can provide better antioxidants, elevating the health aspect slightly.
- Enjoy in Moderation: Remember, desserts like this are to be enjoyed occasionally rather than every day.
Frequently Asked Questions About Chocolate Lava Cake
- What makes Chocolate Lava Cake different from regular cake?
- Chocolate Lava Cake has a molten center, creating a luxurious, gooey experience that differentiates it from traditional cakes.
- Can I prepare Chocolate Lava Cake ahead of time?
- Yes, you can prepare the batter ahead of time and refrigerate it. Bake just before serving for that fresh-out-of-the-oven taste.
- Is it safe to eat undercooked Chocolate Lava Cake?
- While the center is molten, the eggs in the recipe are cooked sufficiently due to baking time. However, it’s always best to use pasteurized eggs if concerned.
- Can I use different types of chocolate for this recipe?
- Absolutely! You can experiment with dark chocolate, white chocolate, or even flavored chocolates for a unique twist on the classic recipe.
- How can I tell when my Chocolate Lava Cake is done baking?
- A good rule of thumb is that the edges should look set while the center should still be soft and jiggly. Aim for a baking time of around 12-14 minutes.
Sweet Conclusion
There you have it—a complete guide to creating your own delightful Chocolate Lava Cake. This dessert not only satisfies a sweet craving but also provides a fabulous way to impress friends and family. The joy of experiencing that molten chocolate center is unparalleled, and with a bit of practice, you’ll master this recipe in no time. Enjoy the process, share your creations, and remember that indulging in a little sweetness can brighten even the dullest of days. Now go ahead and savor the indulgence that is Chocolate Lava Cake!
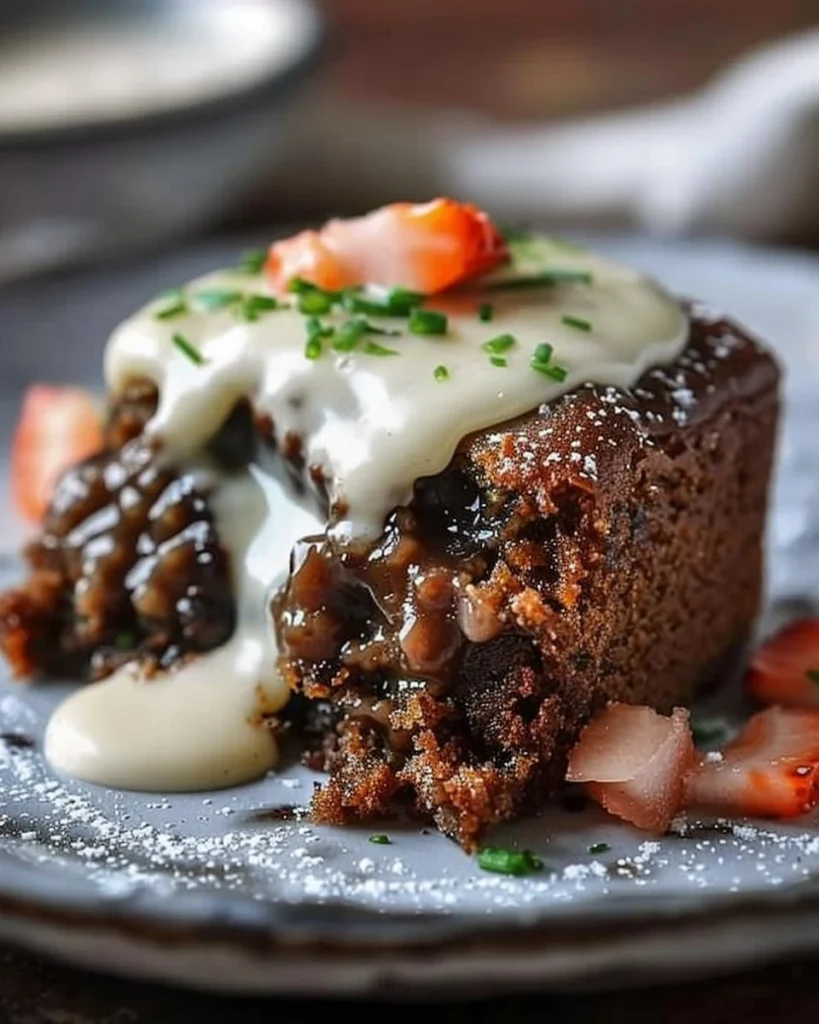
Chocolate Lava Cake
Ingredients
Method
- Preheat your oven to 425°F (220°C) and grease your ramekins.
- In a microwave-safe bowl, combine the unsalted butter and semisweet chocolate chips. Heat in 30-second intervals, stirring in between until smooth.
- In a separate bowl, whisk together the eggs, egg yolks, and granulated sugar. Incorporate the melted chocolate mixture until well combined.
- Gently fold in the flour and salt, being careful not to overmix.
- Pour the batter into the greased ramekins, filling them about three-quarters full.
- Place the ramekins on a baking tray and bake for about 12-14 minutes, until edges are firm and centers are soft.
- Let the cakes rest for one minute before carefully inverting them onto dessert plates.
- Dust with powdered sugar and serve with a scoop of vanilla ice cream.