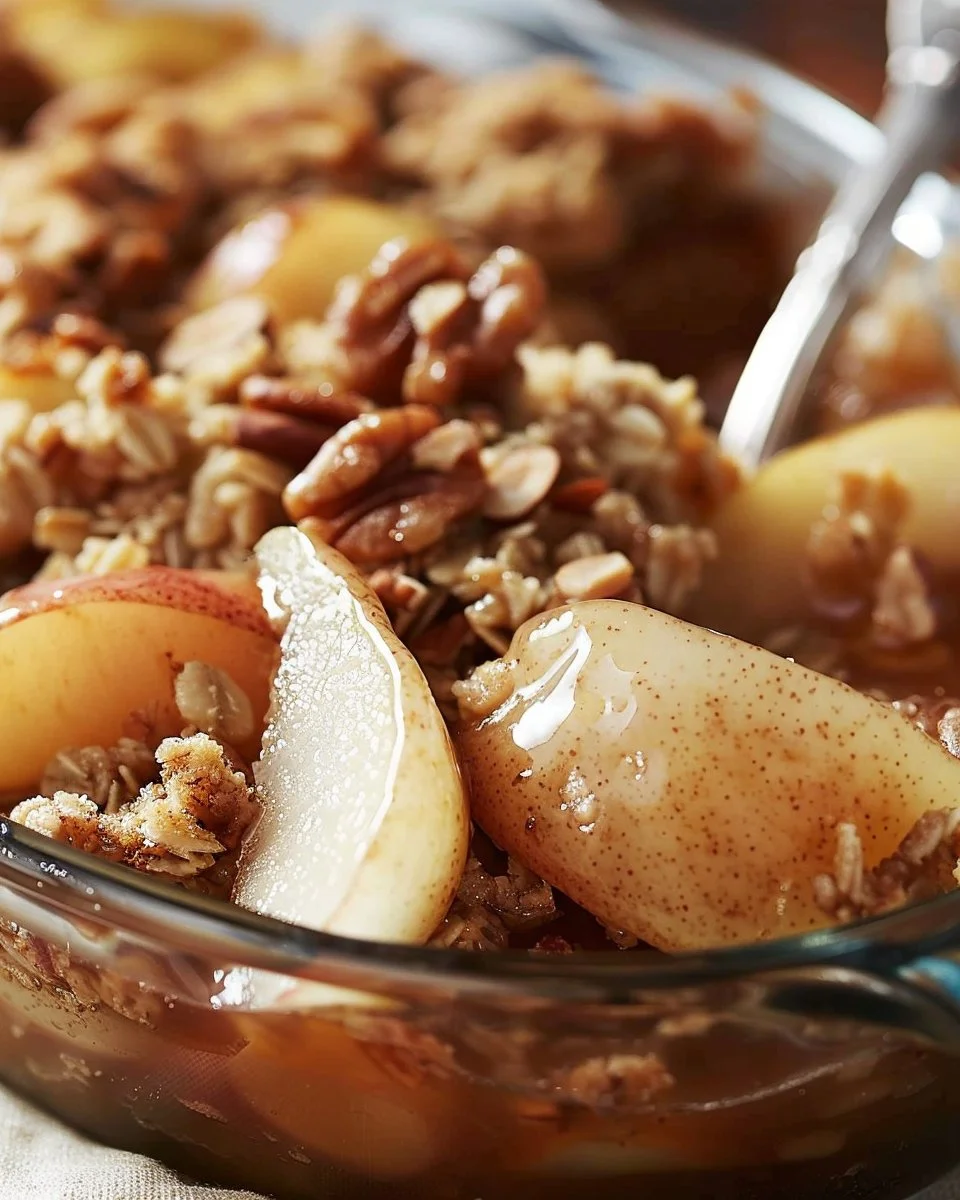
Unleashing the Deliciousness of Fresh Pear & Walnut Crisp
When the cool breeze of autumn wafts through your window, bringing with it the sweet, inviting aroma of baked goods, you know it’s time to indulge in a comforting dessert. Enter the enchanting world of Fresh Pear & Walnut Crisp—an irresistible combination that beautifully balances the sweetness of ripe pears with the rich nuttiness of walnuts. If you’re searching for a recipe that evokes nostalgia and warmth while being straightforward to prepare, look no further. This delightful dessert not only satisfies your cravings but also offers a cozy escape on those chilly evenings.
Let me take you on a journey through making this scrumptious dessert, revealing why it matters and how it can elevate your baking repertoire. Not to mention, this dish is tailored perfectly for family gatherings or a cozy night in. Ready to whip up this heavenly treat? Let’s dive right in!
Why Fresh Pear & Walnut Crisp Matters
Food has a unique way of connecting us to our memories and feelings, and nothing speaks of home quite like a freshly baked dessert. The Fresh Pear & Walnut Crisp is more than just a dish; it’s a warm embrace on a plate. Here’s why it can become your go-to comfort food:
- Seasonal Delight: Pears are in their prime during the fall, making them the ideal choice for this crisp. Using fresh, ripe pears not only boosts flavor but also enhances nutrition.
- Nutritional Benefits: Pairing pears with walnuts adds a nutritional punch. Pears are rich in fiber and Vitamin C, while walnuts provide healthy fats, protein, and antioxidants.
- Simplicity and Accessibility: This dessert is approachable, making it perfect for both novice bakers and seasoned pros. Its minimal ingredients mean you probably have most of them in your pantry.

What You’ll Need
Before we delve into the enchanting step-by-step process, let’s gather our ingredients. For a delightful Fresh Pear & Walnut Crisp, you will need:
- 4 cups fresh pears, peeled and sliced
- 1 cup rolled oats
- 1/2 cup brown sugar
- 1/2 cup chopped walnuts
- 1/2 cup all-purpose flour
- 1/2 teaspoon cinnamon
- 1/4 teaspoon salt
- 1/4 cup unsalted butter, melted
Step-by-Step to Crisp Perfection
Ready to make your kitchen smell divine? Here’s a straightforward guide to crafting this crispy, fruity delight:
- Preheat Your Oven: Begin by preheating your oven to 350°F (175°C). This ensures that your crisp bakes evenly and becomes golden brown.
- Prepare the Pears: In a large bowl, toss the sliced pears with half of the brown sugar and a sprinkle of cinnamon to enhance their natural sweetness. Place the pears at the bottom of a greased baking dish.
- Make the Topping: In another bowl, combine the rolled oats, remaining brown sugar, chopped walnuts, flour, cinnamon, and salt. Mix well. Then, add the melted butter and stir until the mixture resembles coarse crumbs.
- Assemble the Crisp: Evenly spread the topping over the prepared pears, ensuring every slice is covered in the nutty, sweet goodness.
- Bake to Perfection: Place the baking dish in your preheated oven and bake for about 35-40 minutes, or until the topping is golden brown and the pears are tender.
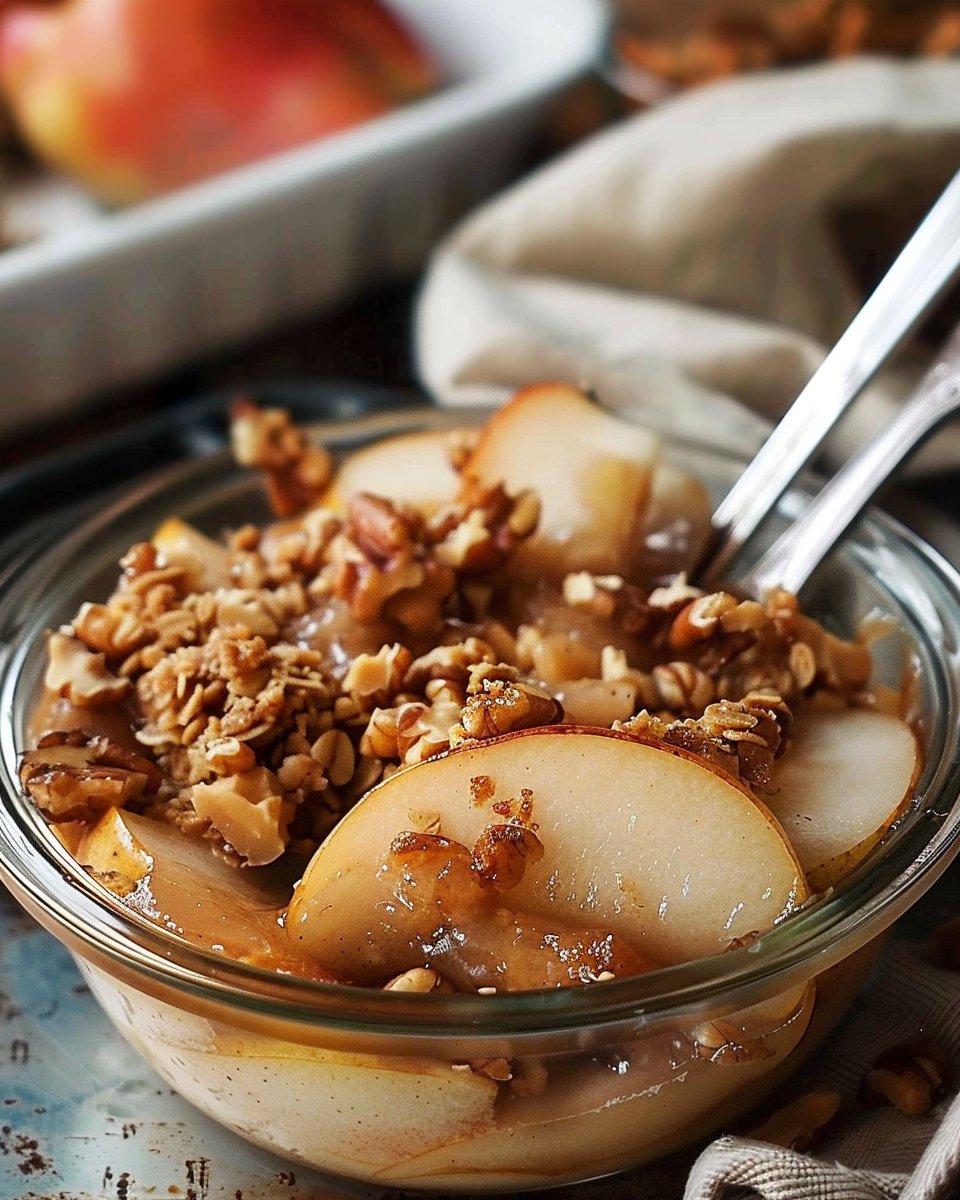
- Cool and Serve: Remove the dish from the oven and allow it to cool slightly before serving. Pair it with a scoop of vanilla ice cream or a dollop of whipped cream for a delightful contrast in temperature and texture.
Tips for Elevating Your Crisp
While the above steps will give you a fantastic result, here are some expert tips to take your Fresh Pear & Walnut Crisp to the next level:
- Mix and Match Fruits: Don’t hesitate to swap some pears with apples or add dried cranberries for a burst of tartness.
- Enhance the Texture: Toast your walnuts slightly before adding them to the topping. This will deepen their flavor and add an extra crunch.
- Experiment with Spices: While cinnamon is classic, trying nutmeg or ginger can provide a unique twist to the flavor profile.
Common Pitfalls to Avoid
Even seasoned bakers can face challenges when preparing crisp desserts. Avoid these common mistakes to ensure your Fresh Pear & Walnut Crisp comes out flawless:
- Overripe Pears: While you want the pears to be ripe, overly soft pears will turn mushy during baking. Aim for just ripe to slightly firm.
- Incorrect Oven Temperature: Not preheating the oven properly can lead to uneven baking. Ensure your oven is at the right temperature before placing your dish inside.
- Too Much Topping: While a generous topping is delicious, too much can overshadow the pears. Balance is key!
Storage and Serving Suggestions
Your Fresh Pear & Walnut Crisp is not only delicious on the first day. Here’s how to store and serve it for maximum enjoyment:
- Storing Leftovers: Cover the crisp with foil or plastic wrap, and it can be kept in the refrigerator for up to 3 days. The topping might lose some crunch, but it will still taste great.
- Reheating: For the best texture, reheat in the oven at 350°F for about 10-15 minutes before serving.
- Serving Variations: Serve it warm, topped with ice cream or yogurt for a comforting dessert. Alternatively, it makes a delightful breakfast when served with a drizzle of honey.
FAQs About Fresh Pear & Walnut Crisp
1. Can I use canned pears for Fresh Pear & Walnut Crisp?
Using canned pears is possible, but opt for those packed in juice or water to avoid excess sugar and mushiness.
2. How can I make my Fresh Pear & Walnut Crisp gluten-free?
Substitute all-purpose flour with a gluten-free flour blend and ensure your oats are certified gluten-free.
3. What’s the best way to store my Fresh Pear & Walnut Crisp?
Store it covered in the refrigerator for up to three days. Reheat in the oven for a few minutes before serving.
4. Can I make Fresh Pear & Walnut Crisp ahead of time?
Yes! You can prepare the ingredients and assemble the crisp ahead of time, baking it just before you plan to serve.
5. What other nuts can be used in this crisp?
Almonds or pecans can be a great substitute for walnuts, giving your dessert a delightful new flavor.
6. How do I know when my Fresh Pear & Walnut Crisp is done?
When the topping is golden brown and the pears are bubbling around the edges, your crisp is ready to be enjoyed!
Wrapping It Up
The Fresh Pear & Walnut Crisp is not just a dessert; it’s a nostalgic experience that warms the heart and fills the home with inviting aromas. This delightful dish captures the essence of fall and brings people together around the table for shared moments of sweetness. Whether you’re hosting a gathering or simply treating yourself, this recipe is sure to impress. So, grab your pears, preheat that oven, and indulge in the comforting flavors of this classic crisp!
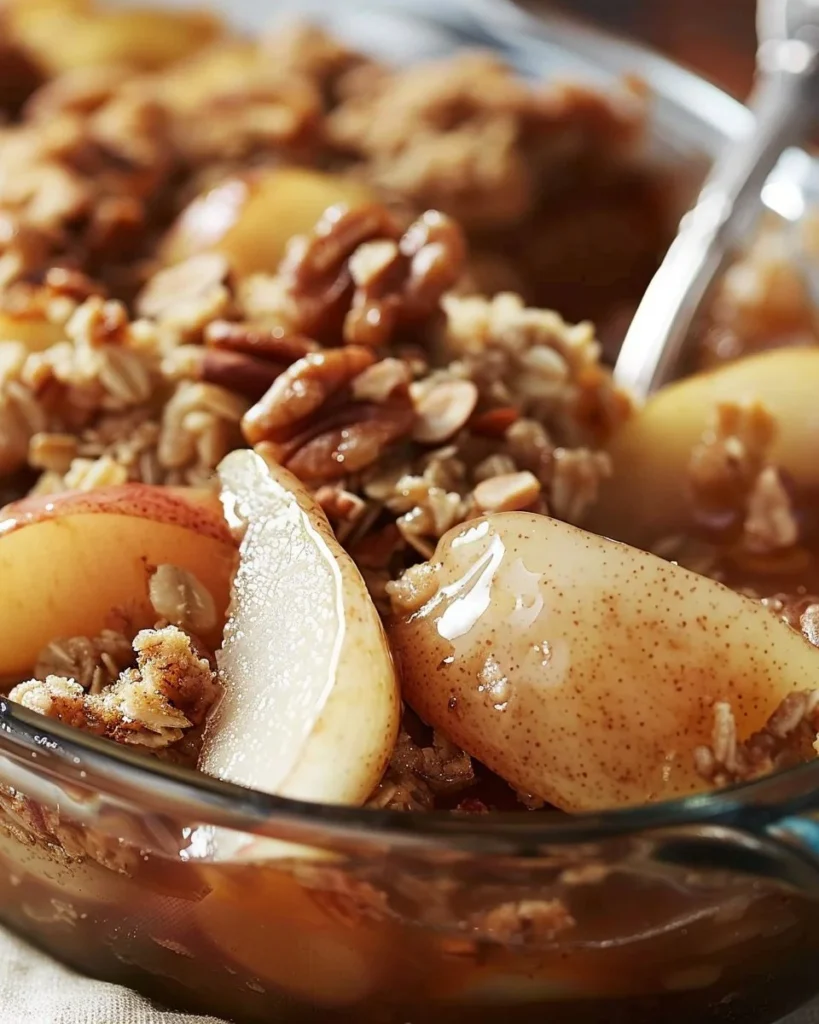
Fresh Pear & Walnut Crisp
Ingredients
Method
- Preheat your oven to 350°F (175°C).
- In a large bowl, toss the sliced pears with half of the brown sugar and a sprinkle of cinnamon.
- Place the prepared pears at the bottom of a greased baking dish.
- In another bowl, combine the rolled oats, remaining brown sugar, chopped walnuts, flour, cinnamon, and salt.
- Add the melted butter and stir until the mixture resembles coarse crumbs.
- Evenly spread the topping over the prepared pears.
- Place the baking dish in your preheated oven and bake for about 35-40 minutes, or until the topping is golden brown and the pears are tender.
- Remove from the oven and allow to cool slightly before serving.