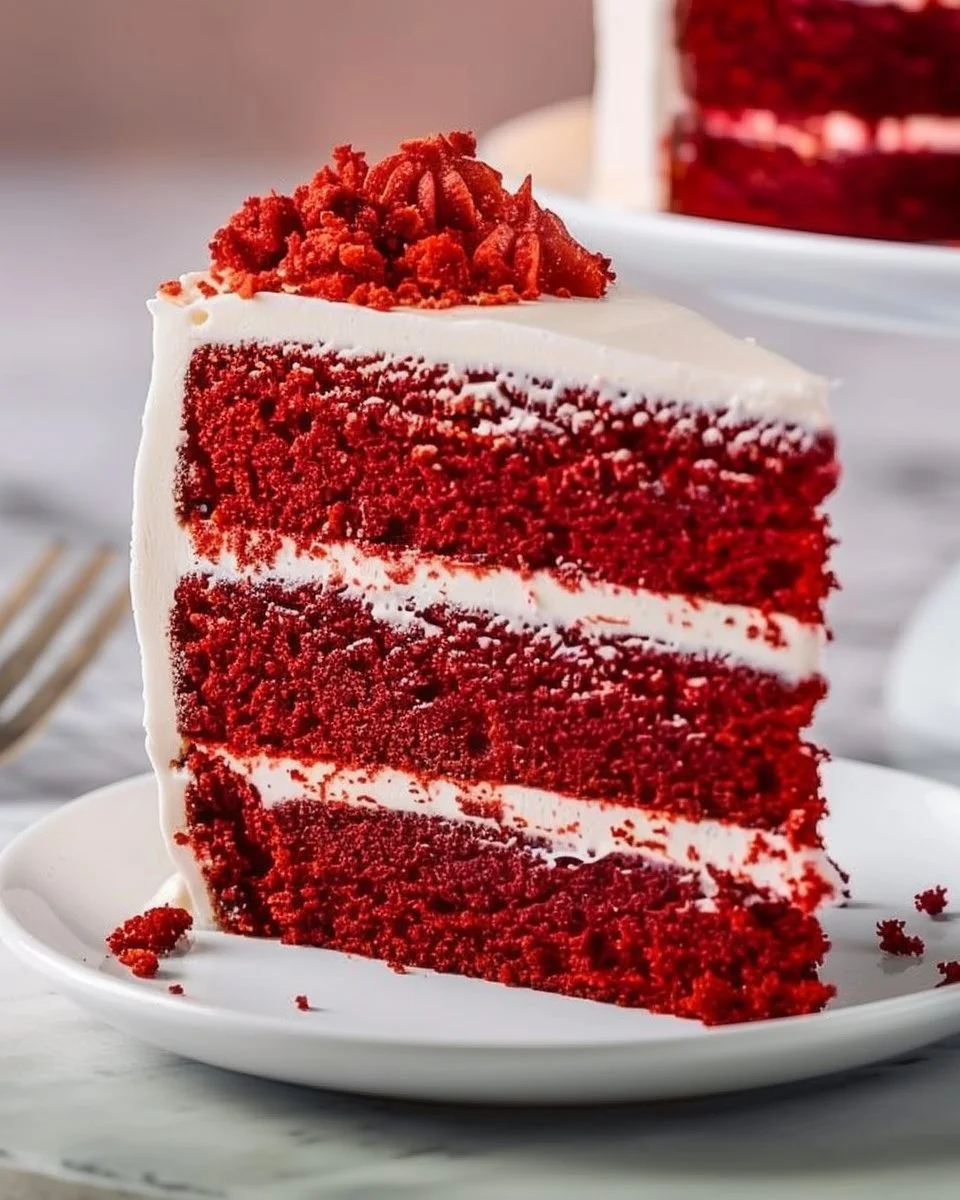
Layered Red Velvet Cake is a stunning dessert that captivates both the eyes and the taste buds. Known for its rich color and velvety texture, this cake has become a favorite for celebrations and special occasions. Here, we’ll explore everything from its origins to the perfect recipe, tips for baking, and how to make it a showstopper at your next gathering.
What is Layered Red Velvet Cake?
Red Velvet Cake is a classic American dessert characterized by its deep red color, soft texture, and subtle cocoa flavor. Traditionally paired with cream cheese frosting, its unique combination of ingredients makes it a standout choice for birthdays, weddings, and holidays.
History and Origin
While the exact origins of Red Velvet Cake are debated, it is believed to have gained popularity in the 1920s in the United States, particularly in the southern regions. The cake’s striking color and layered presentation have made it a symbol of elegance and celebration.
Key Ingredients of a Layered Red Velvet Cake
To create the perfect Layered Red Velvet Cake, you will need the following ingredients:
- Cake Flour: Provides a tender crumb.
- Cocoa Powder: Adds a subtle chocolate flavor.
- Baking Soda and Vinegar: React to create a light texture.
- Vegetable Oil: Keeps the cake moist.
- Buttermilk: Enhances the flavor and adds tenderness.
- Red Food Coloring: Gives the cake its signature color.
- Cream Cheese Frosting: A classic pairing that complements the cake’s flavor.
Step-by-Step Recipe for Layered Red Velvet Cake
Ingredients:
For the Cake:
- 2 ½ cups cake flour
- 1 ½ cups granulated sugar
- 1 teaspoon baking soda
- 1 teaspoon cocoa powder
- 1 cup vegetable oil
- 1 cup buttermilk, room temperature
- 2 large eggs
- 2 tablespoons red food coloring
- 1 teaspoon vanilla extract
- 1 teaspoon white vinegar
- ½ teaspoon salt
For the Cream Cheese Frosting:
- 1 cup unsalted butter, softened
- 8 oz. cream cheese, softened
- 4 cups powdered sugar
- 1 teaspoon vanilla extract
Instructions:
- Preheat the Oven: Preheat your oven to 350°F (175°C). Grease and flour three round 9-inch cake pans.
- Mix Dry Ingredients: In a bowl, sift together the cake flour, baking soda, cocoa powder, and salt.
- Combine Wet Ingredients: In a separate large bowl, mix the vegetable oil, granulated sugar, and eggs until well combined. Add the buttermilk, red food coloring, vanilla extract, and vinegar.
- Combine Mixtures: Gradually add the dry ingredients to the wet ingredients, mixing until just combined.
- Bake the Cakes: Divide the batter evenly among the prepared pans. Bake for 25–30 minutes or until a toothpick inserted into the center comes out clean. Let the cakes cool in the pans for 10 minutes before transferring them to a wire rack to cool completely.
- Prepare Frosting: While the cakes cool, prepare the cream cheese frosting by beating the softened butter and cream cheese together until creamy. Gradually add the powdered sugar and vanilla extract, mixing until smooth.
- Assemble the Cake: Once the cakes are completely cool, place one layer on a serving plate. Spread a layer of cream cheese frosting on top. Repeat for the second layer and then place the third layer on top. Frost the top and sides of the cake.
- Decorate: For an added touch, decorate with red velvet crumbs or fresh berries.
Tips for the Perfect Layered Red Velvet Cake
- Use Room Temperature Ingredients: Ensure all ingredients are at room temperature for even mixing.
- Don’t Overmix: Combine the wet and dry ingredients gently to prevent a tough cake.
- Check for Doneness: Start checking for doneness a few minutes before the suggested time to avoid overbaking.
- Chill the Frosting: If the cream cheese frosting is too soft, chill it slightly before frosting the cake.
Common Mistakes When Making Red Velvet Cake
- Using Regular Flour: Cake flour is essential for achieving the right texture.
- Too Much Food Coloring: Excess coloring can affect the cake’s taste; use just enough for the desired color.
- Skipping the Vinegar: Vinegar is crucial for activating the baking soda and achieving the cake’s lightness.
Variations to Try
- Chocolate Chip Red Velvet Cake: Add semi-sweet chocolate chips to the batter for an indulgent twist.
- Lemon Red Velvet Cake: Replace part of the buttermilk with fresh lemon juice for a citrusy flavor.
- Red Velvet Cupcakes: Use the same batter to make cupcakes and frost with cream cheese frosting for a delightful treat.
FAQs About Layered Red Velvet Cake
How can I store Red Velvet Cake?
Layered Red Velvet Cake can be stored in the refrigerator for up to one week. Ensure it is covered to prevent it from drying out.
Can I freeze Red Velvet Cake?
Yes, you can freeze the layers individually if wrapped tightly in plastic wrap. Thaw in the refrigerator before frosting.
Why did my cake turn brown instead of red?
Using too much cocoa powder or not using enough food coloring can cause the red to appear brownish.
What can I use instead of buttermilk?
You can make a substitute by combining 1 cup of milk with 1 tablespoon of vinegar or lemon juice. Let it sit for a few minutes to thicken.
Conclusion
Layered Red Velvet Cake is not just a dessert; it’s an experience. With its unique taste, beautiful presentation, and rich history, it continues to bring joy to celebrations. Follow along with the recipe and tips provided, and you’re sure to create a stunning cake that will impress your guests and create lasting memories. Enjoy your baking adventure and the delicious reward at the end!
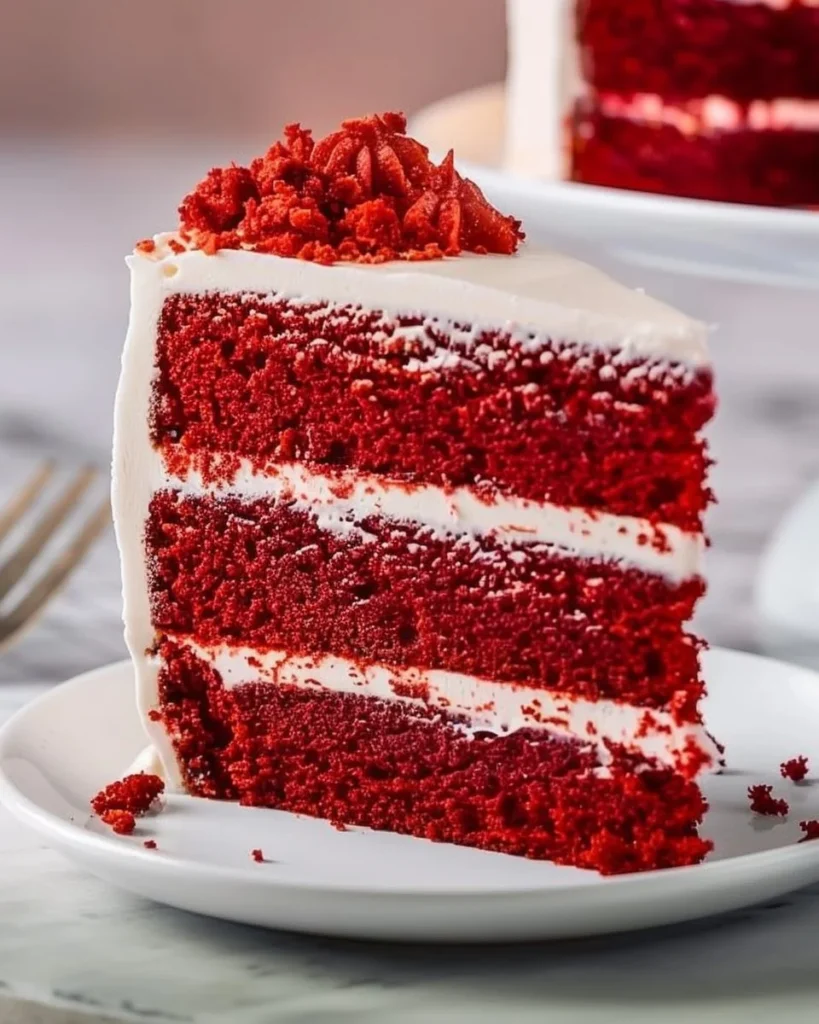
Layered Red Velvet Cake
Ingredients
Method
- Preheat your oven to 350°F (175°C). Grease and flour three round 9-inch cake pans.
- In a bowl, sift together the cake flour, baking soda, cocoa powder, and salt.
- In a separate large bowl, mix the vegetable oil, granulated sugar, and eggs until well combined. Add the buttermilk, red food coloring, vanilla extract, and vinegar.
- Gradually add the dry ingredients to the wet ingredients, mixing until just combined.
- Divide the batter evenly among the prepared pans. Bake for 25–30 minutes or until a toothpick inserted into the center comes out clean.
- Let the cakes cool in the pans for 10 minutes before transferring them to a wire rack to cool completely.
- While the cakes cool, prepare the cream cheese frosting by beating the softened butter and cream cheese together until creamy.
- Gradually add the powdered sugar and vanilla extract, mixing until smooth.
- Once the cakes are completely cool, place one layer on a serving plate. Spread a layer of cream cheese frosting on top.
- Repeat for the second layer and then place the third layer on top. Frost the top and sides of the cake.
- For an added touch, decorate with red velvet crumbs or fresh berries.